
Contents
Introduction
evQueue can also schedule tasks or workflows, like cron jobs. If you are familiar with cron jobs, you will see that this is essentially the same.
Creating your first schedule
Go to the menu Setting -> Scheduled workflows and click "Plan new workflow" ( icon).
We will choose to launch a previously created workflow, but you can create a new one if you like.
Ih the 'what' section, select the "loopsleep" workflow (see queues documentation).

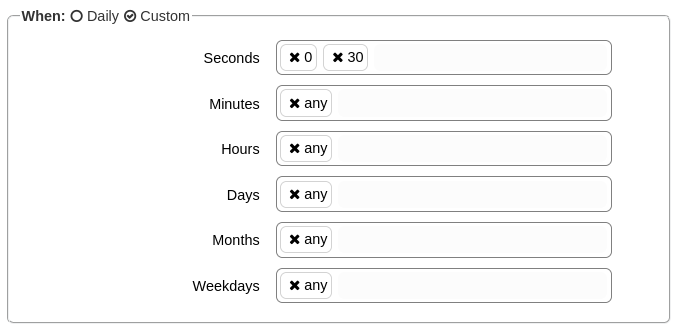
In the 'when' section, you have 2 options. 'Daily' will trigger the workflow once a day at the specified time. 'Custom' will provied more flexibility with advanced schedules. We'll use this option.
We'll plan the workflow every 30s so it is easier to see its instances. The schedule should be like this:
Finally, we have to say what will happen if an execution fails. 'Continue' will launch a new instance at the next schedule. 'Suspend' will disable the schedule, and you will have to re-activate it manually.
Optionally, you can add a comment to the workflow.

You can then create the schedule with the 'Create workflow schedule' button.
See the schedule running
Now that you have a new workflow scheduled, you can go to the main System state -> Workflows instances screen.
Shortly you should see the first instances launched by the scheduler.
One thing to know is that the schedule is disabled when an instance is launched by the scheduler. This means that if you create a workflow that runs for 120 seconds and schedule it every minute, it will only be launched every 2 (or 3) minutes. Indeed, the next schedule date is calculated when the previous instance ends.